🏫 Module Overview
Sections are optional subdivisions of a class, such as "Grade 5 Section A" or "Grade 5 Section B." They allow schools to split large classes into more manageable groups for teaching, administration, and tracking.
🧭 How to Access
Click Academic in the main sidebar.
Select Sections.

📐 Purpose & Benefits
Sections help schools operate more efficiently by enabling you to:
Split large classes into smaller student groups.
Assign a different Class Teacher to each section.
Create separate timetables for each section.
Track and compare academic performance across sections.
This structure is particularly useful for schools with large student populations.
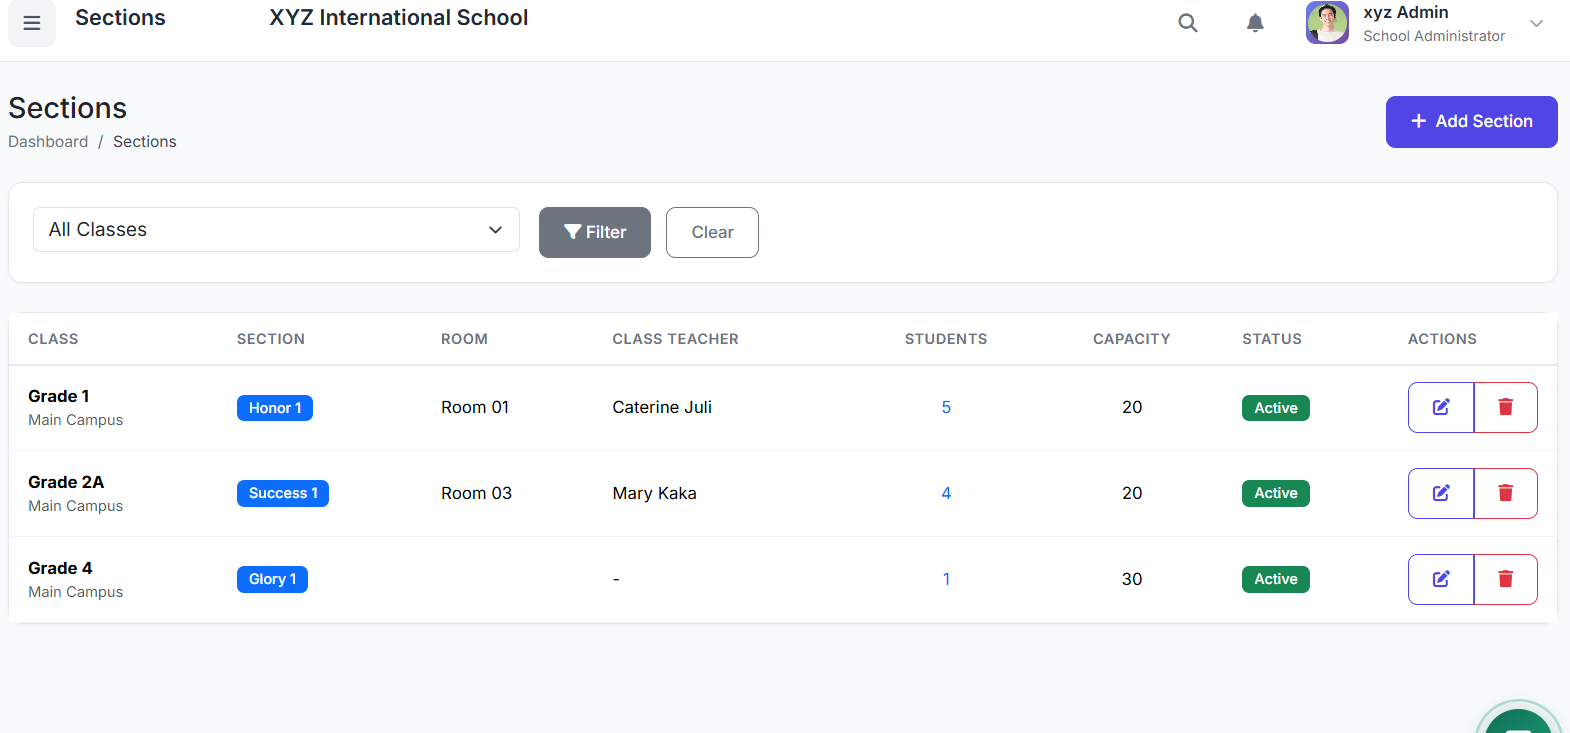
📋 Sections List Overview
The main page displays all sections. Key columns include:
| Column | Description |
|---|---|
| Section Name | e.g., Section A, Blue |
| Parent Class | The class this section belongs to (e.g., Grade 5). |
| Class Teacher | The assigned teacher for the section. |
| Capacity / Enrollment | Max limit and current student count. |
| Room | Assigned physical room or location. |
| Status | Active or Inactive. |
| Actions | Edit, View Students, Delete. |
🔍 Filtering the List
Use the filters at the top of the page to quickly find sections:
Class Filter: View sections for a specific class only.
Centre Filter: View sections for a specific centre (for multi-centre schools).
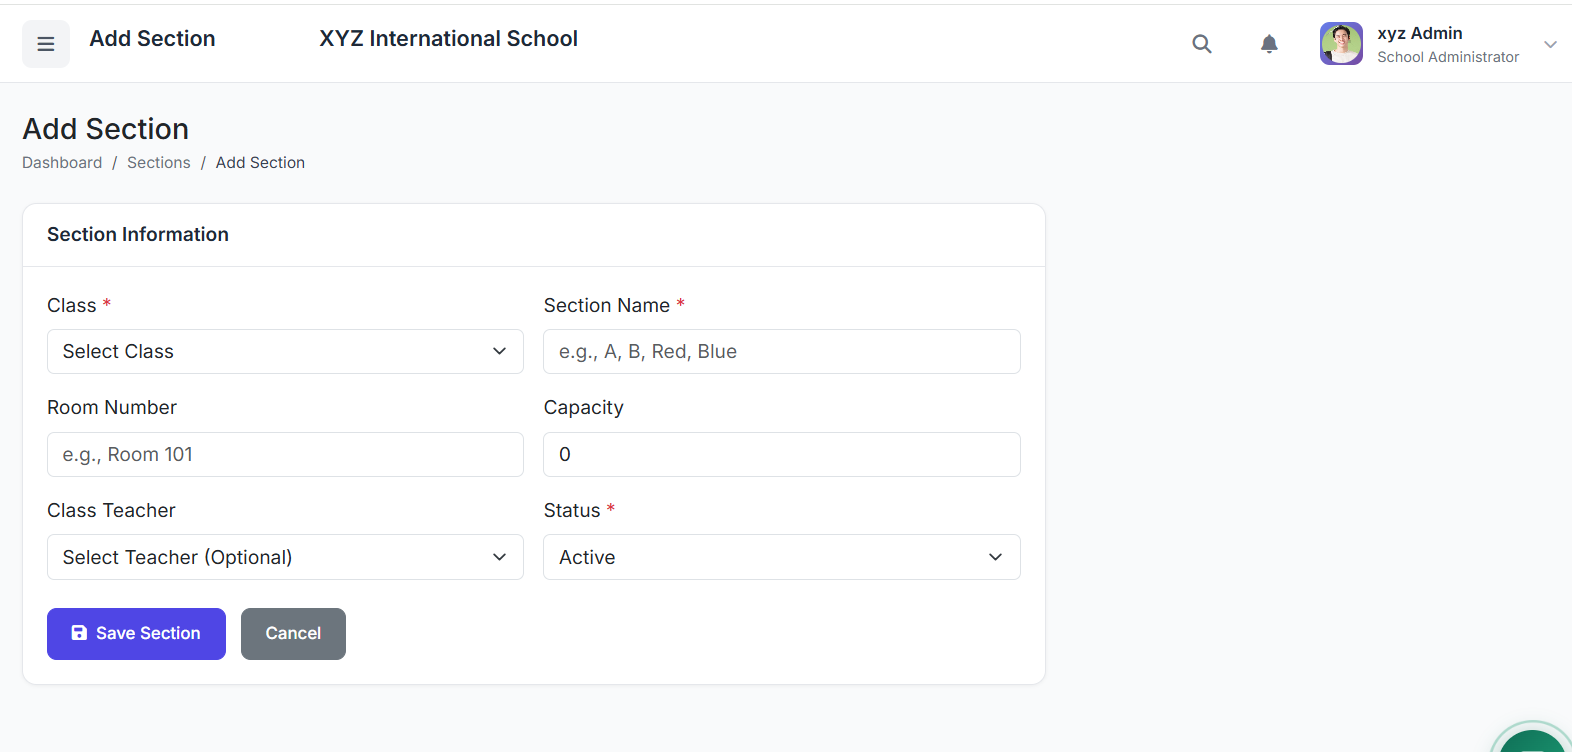
➕ Adding a New Section
Click the Add Section button.
Fill in the form:
Parent Class: Select the main class (e.g., Grade 5).
Section Name: Enter a name (e.g.,
Section A).Class Teacher: Assign a teacher (optional).
Room: Enter a room number or name (optional).
Capacity: Set a maximum student limit.
Status: Set as Active or Inactive.
Click Create Section to save.
🏷️ Section Naming Conventions
You can use flexible naming patterns. Common conventions include:
Alphabetical: Section A, Section B
Colors: Red House, Blue House
Names: Rose, Lily
Numerical: Section 1, Section 2
Choose a consistent pattern across all classes for clarity.
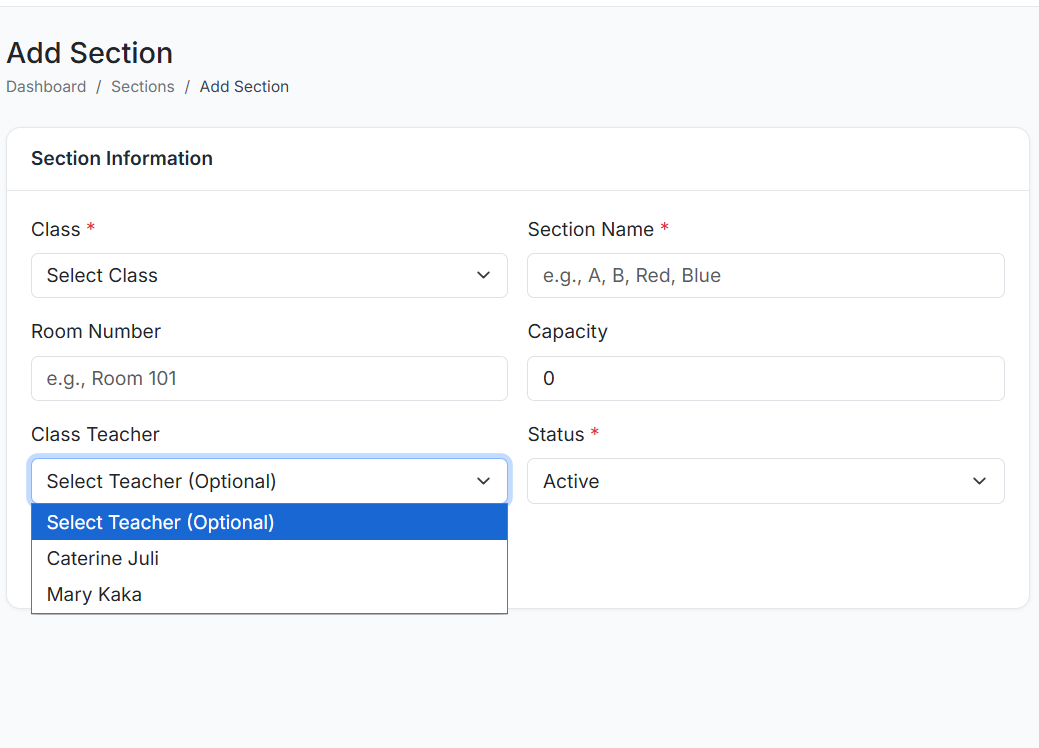
👩🏫 Assigning a Class Teacher
The assigned Class Teacher is responsible for:
Overseeing the section’s students.
Taking primary attendance.
Communicating with parents.
Appearing on student reports.
To assign a teacher:
Edit the section.
Select a teacher from the Class Teacher dropdown.
Save the changes.
👀 Viewing & Managing Students in a Section
To see all students enrolled in a section:
Click the View Students button for that section.
From this detailed view, you can:
See the full student list.
Add new students to the section.
Transfer students to other sections.
Remove students if necessary.
✏️ Editing a Section
To modify a section’s details:
Find the section in the list.
Click the Edit (pencil) icon.
Update any field (Name, Teacher, Room, Capacity, Status).
Click Update Section.
🗑️ Deleting a Section
⚠️ Important: A section cannot be deleted if it still has students enrolled.
If deletion is necessary:
First, transfer or remove all students from the section.
Then, click the Delete button.
Confirm the action in the pop-up.
✅ Best Practices
Batch Creation: Create all sections for a class at the same time for consistency.
Pre-Assign Teachers: Assign class teachers before the academic year begins.
Balance Size: Keep section capacities balanced to manage class sizes effectively.
Consistent Naming: Use the same naming convention (e.g., all letters or all colors) across all classes.
You now know how to set up and manage Sections to organize students within classes.
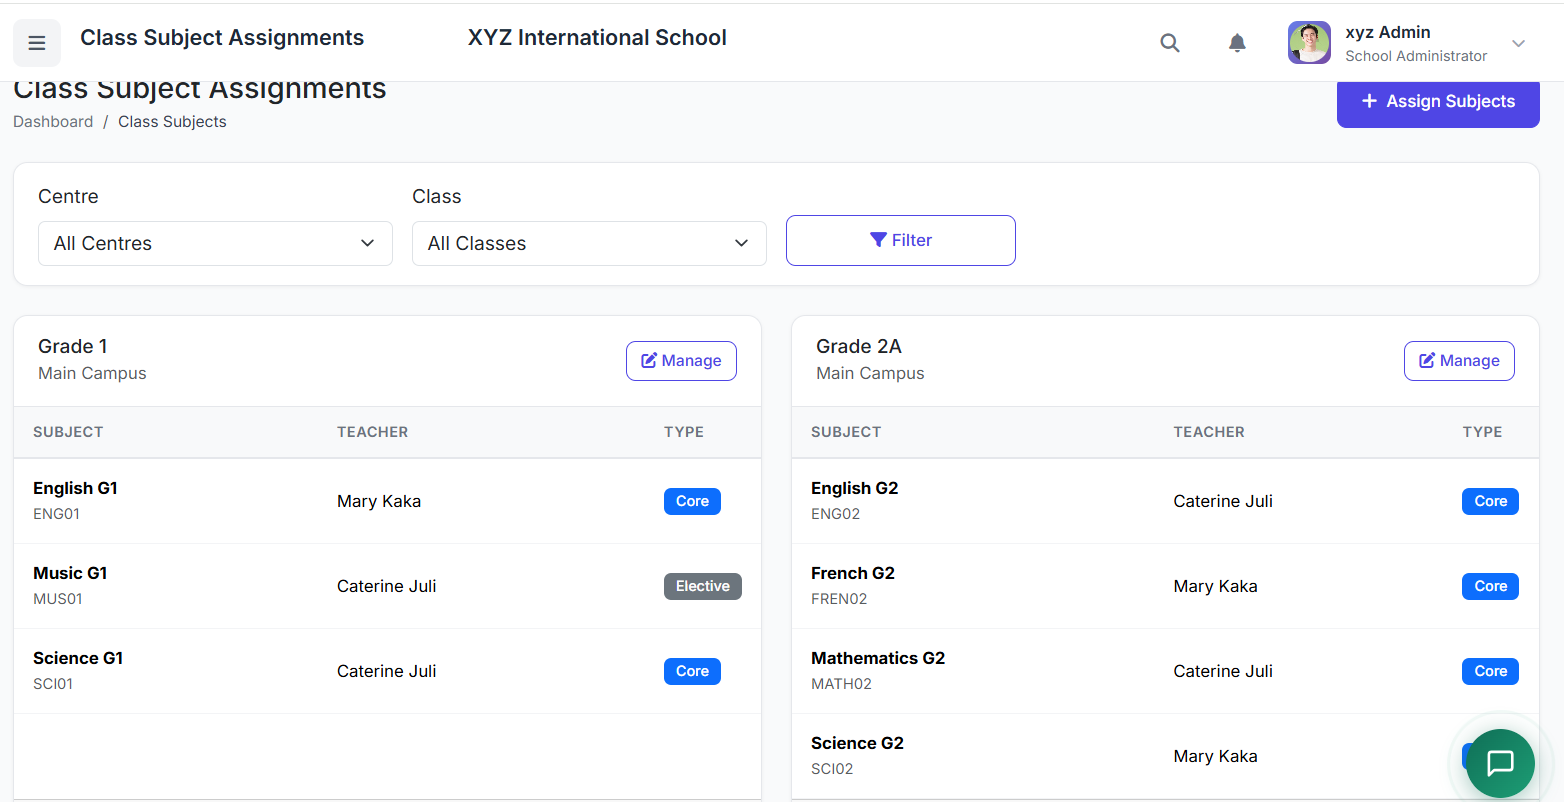
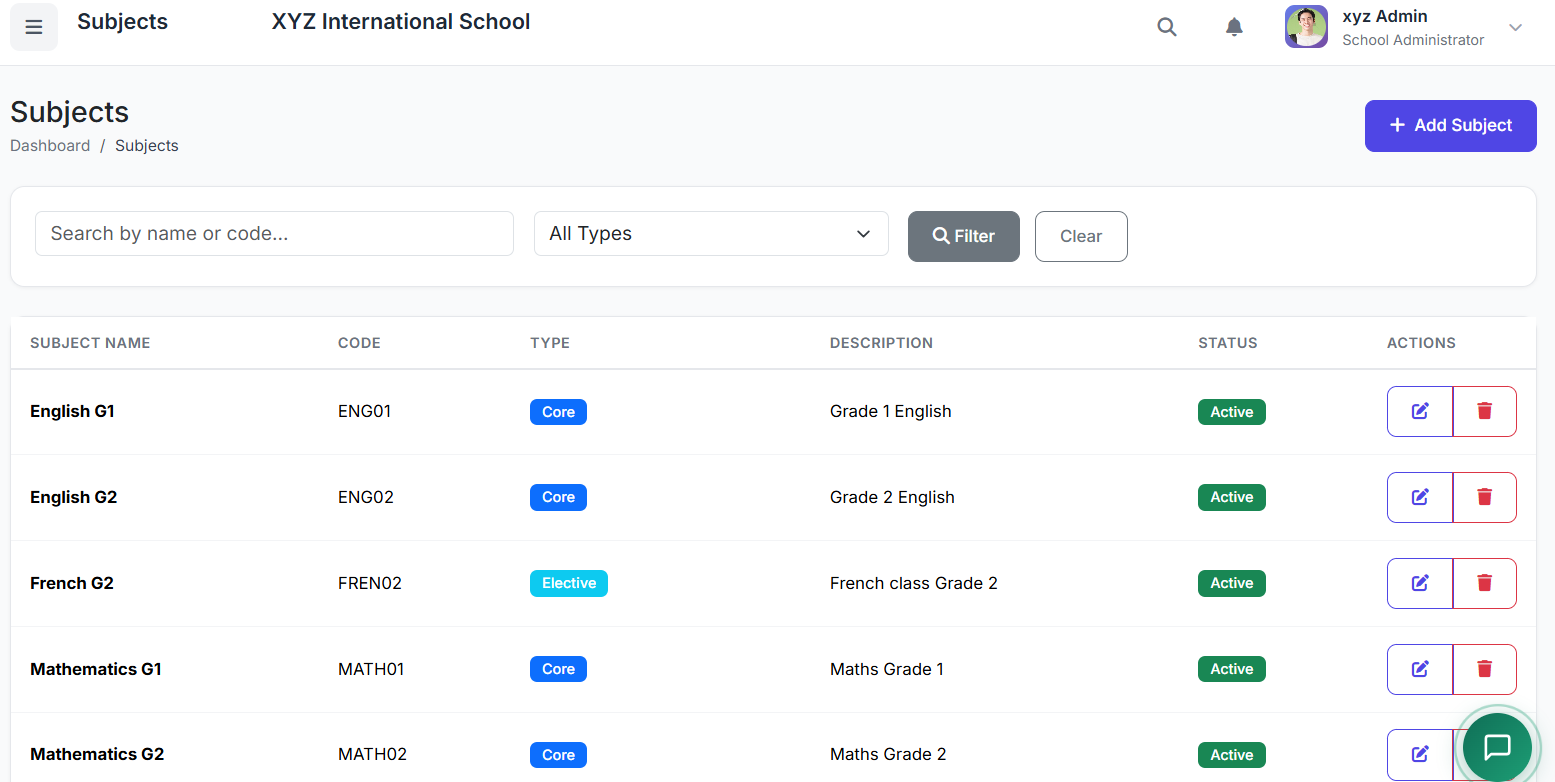
Next, we will cover Subjects Management and how to assign subjects to classes and sections.