🏫 Module Overview
Classes define the academic stages in your school, such as Primary 1, Grade 5, JSS 1, or SSS 1. They are the core containers for organizing students, sections, and subjects within an academic year.
🧭 How to Access
Click Academic in the main sidebar.
Select Classes.
📐 Understanding the Class Structure
In SSMS, the academic hierarchy is organized as follows:
An Academic Year contains multiple Classes.
Each Class can have multiple Sections (e.g., Section A, B).
Students are enrolled into specific sections within a class.
This structure ensures organized enrollment and clear student grouping.
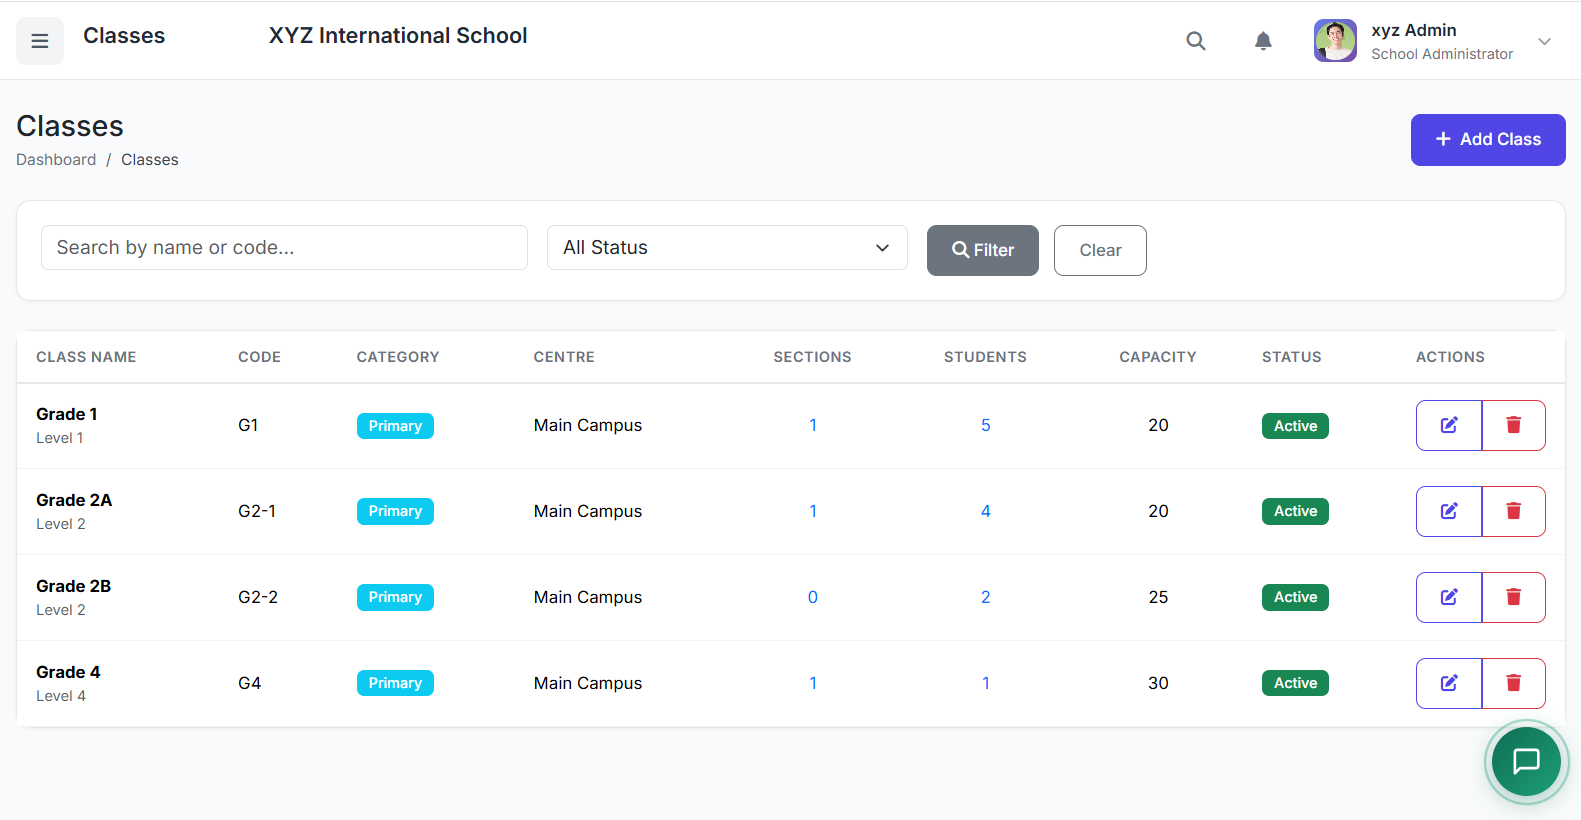
📋 Classes List Overview
The main page displays all classes in a table. Key columns include:
| Column | Description |
|---|---|
| Class Name | e.g., Grade 5, JSS 1 |
| Class Code | A short, unique identifier. |
| Numeric Level | Determines order in lists (1, 2, 3...). |
| Capacity | Max student limit for the class. |
| Sections/Students | Count of sections & enrolled students. |
| Status | Active or Inactive. |
| Actions | Edit, View Sections, Delete. |
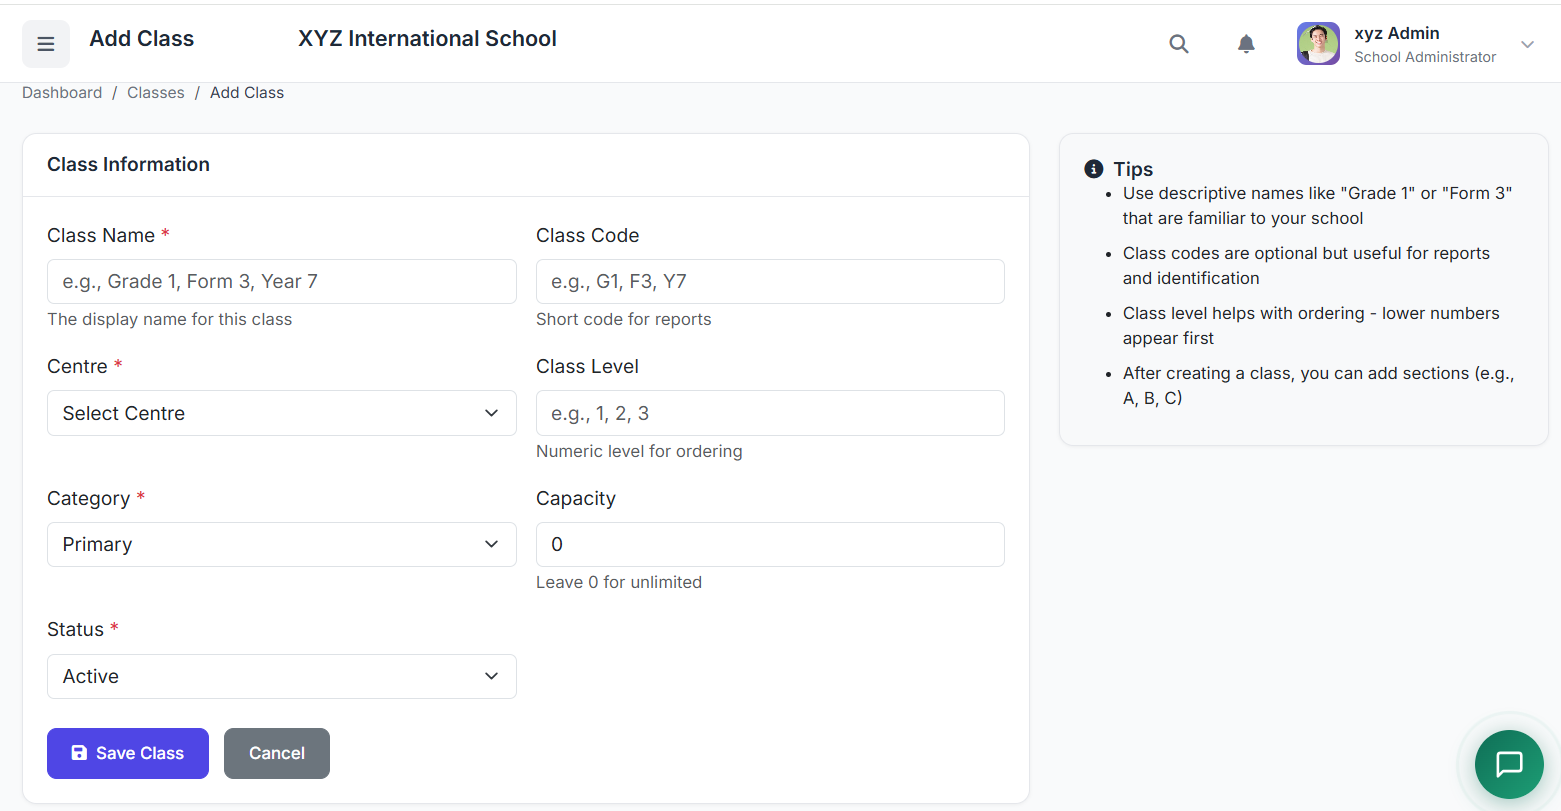
➕ Adding a New Class
Click the Add Class button.
Fill in the form:
Class Name (e.g.,
Grade 5)Class Code (e.g.,
G5)Numeric Level (e.g.,
5for proper sorting)Description (Optional notes)
Capacity (Optional max student limit)
Status (Active or Inactive)
Click Create Class to save.
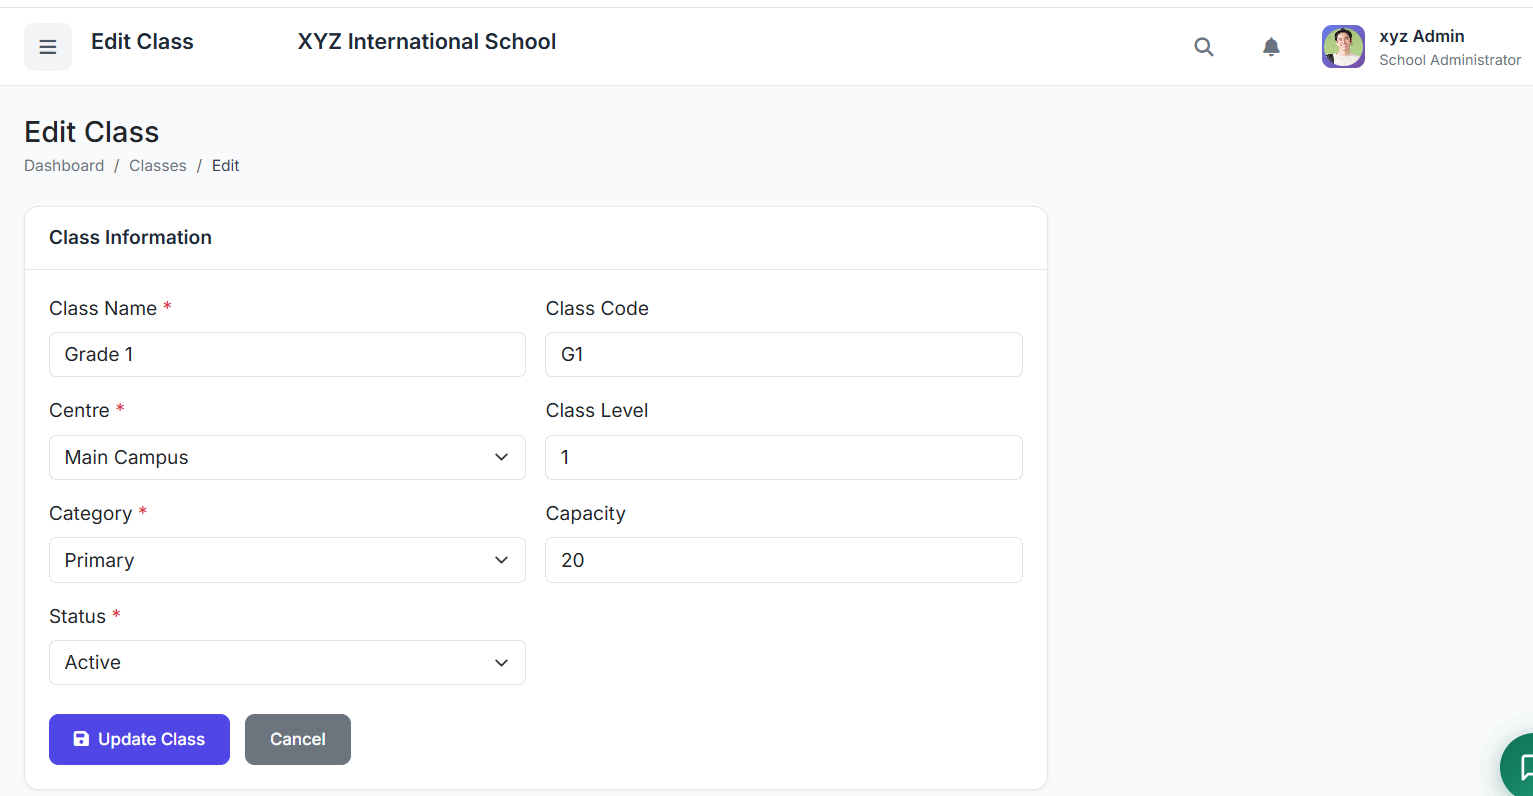
✏️ Editing an Existing Class
To modify a class:
Find the class in the list.
Click the Edit (pencil) icon.
Update any field (Name, Code, Level, Capacity, Status).
Click Update Class.
👀 Viewing Class Sections
Each class can have multiple sections. To see them:
Click the View Sections button for any class.
You will be taken to the Sections page, filtered for that specific class.
🗑️ Deleting a Class
⚠️ Important Restrictions: A class cannot be deleted if it has:
Sections assigned to it.
Students enrolled.
Subjects linked to it.
If deletion is necessary:
First, remove all sections and reassign students.
Then, click the Delete button.
Confirm the action in the pop-up.
✅ Best Practices
Consistency: Use a clear, consistent naming convention (e.g., all "Grade X" or all "JSS X").
Ordering: Set the Numeric Level correctly to ensure classes appear in the right order in dropdowns.
Plan Ahead: Create all required classes before setting up sections and enrolling students.
Archive, Don't Delete: Keep old classes as Inactive to preserve historical records instead of deleting them.
You now know how to manage Classes in SSMS, which form the foundation for student grouping.
Next, we will dive into managing Sections and how to group students within each class.